Access your group directory (Windows)
If you are a member of a SEAS research group, you probably also have a shared group directory stored on our networked file servers in RC. This is how to connect in Windows 7.
It is recommended that you use your SEAS network group directory to store your important shared research-related files since they will be backed-up automatically on a regular basis.
Please note that you need to have permission from your faculty or faculty assistant to have access to your group drive.
There are two main ways to connect to your group directory from Windows. Quick Connect, as the name implies, is the quickest way to access your group files from Windows.
Map Network Drive configures Windows to automatically connect your group directory each time you login to your computer. It also allows you to assign a drive letter (such as G:), so you can access your group directory as if it was a local hard drive.
You can use either one of the following methods, or a combination of both to safely access your group's files from Windows.
Quick Connect (One Time Only Connection)
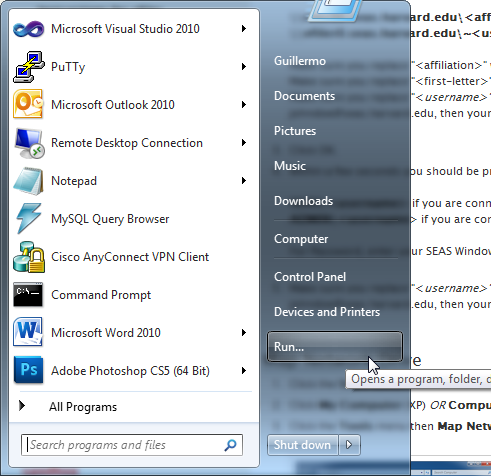
- Hold down the Windows-Key (the key between Ctrl and Alt) and press R OR click the Start button then Run... This will bring up the Run Window.
- In the Open: field, type in the right server name after checking this table:
\\<server_name>\<group_name>
Make sure you replace "<group_name>" with your SEAS group name. - Click OK.
- Within a few seconds you should be prompted for a username and password. For User name, enter:
- RC\<rc_username>.
- For Password, enter your rc password.
Map Network Drive
- Click the Start button in the bottom left of your desktop.
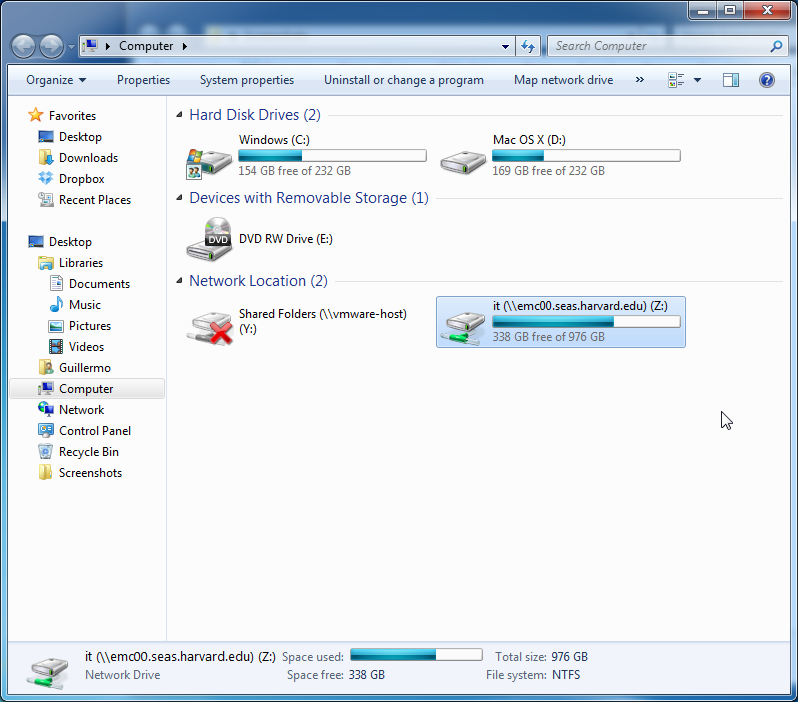
- Click Computer.
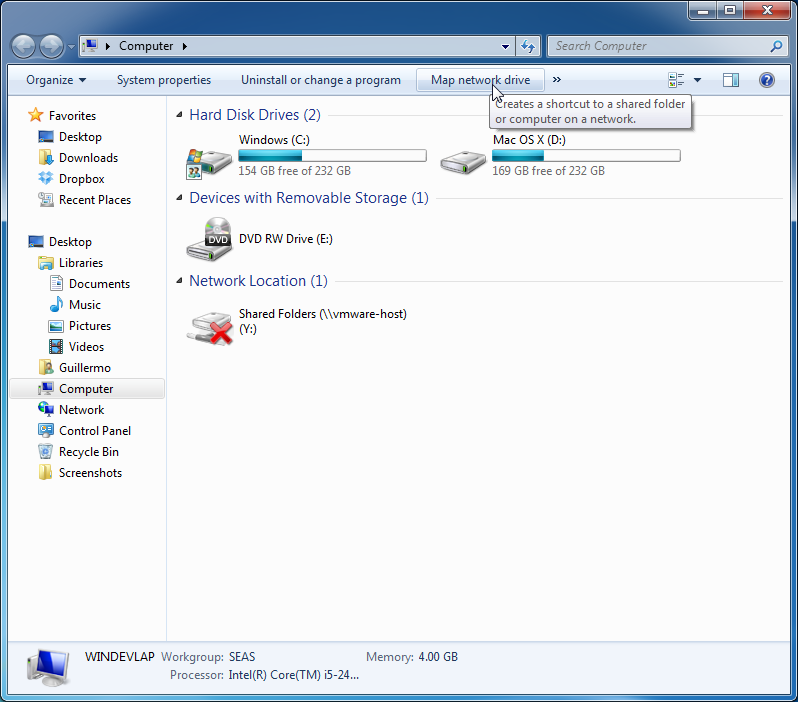
- Click the Map Network Drive toolbar button.
 Or
Or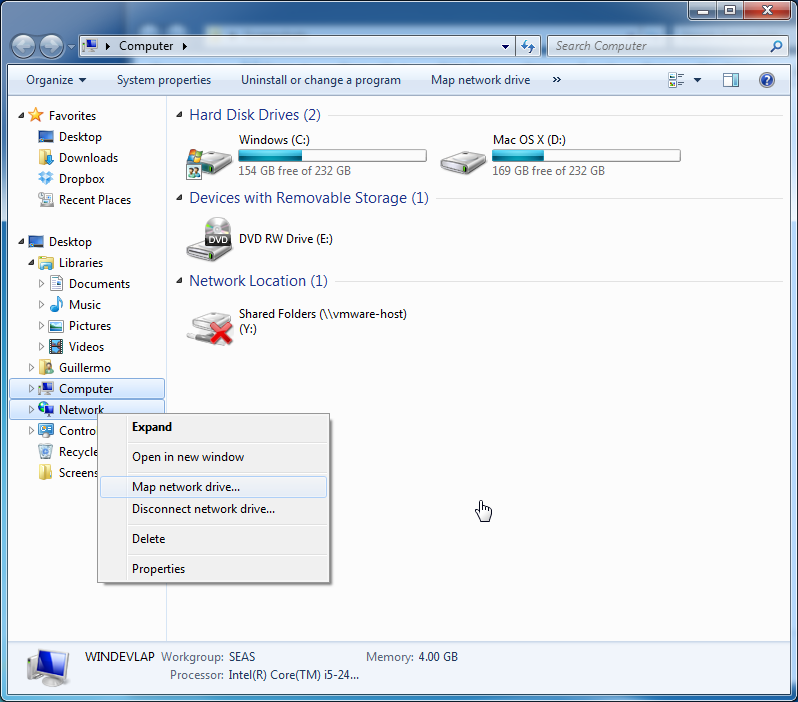
- Pick a letter from the Drive: drop-down box. We usually pick H: for home directories. Though you can choose any letter you prefer.
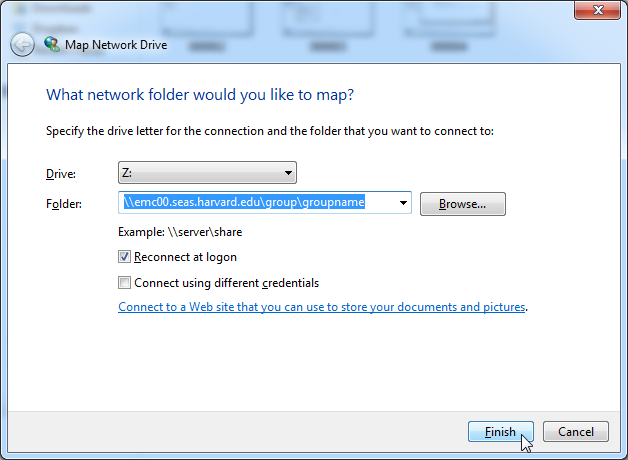
- In the Folder field, type in the right server name from this list:
\\<server_name>\<group_name>.
Make sure you replace "<group_name>" with your SEAS group name. - Click the Connect using a different user name and accept.
For User name, enter: RC\<your_rc_username> .
For Password, enter your rc password. - Leave the Reconnect at logon box checked if you would like the drive to automatically connect next time you login to your account.
- Click Finish.
- If your password does not work, please follow these instructions on how to change the password.
- If you're able to login successfully, a window should popup containing all the files and folders contained by your group network share. You can add or remove files here as you see fit.
Troubleshooting
If you have trouble connecting to your group share, the very first thing you can do is reboot your machine. 80% of the time this solves this issue (actually, a lot of issues).
Next step would be to disconnect the group share and reconnect it, as follows:
- Find your new mapped drive in your Computer folder and right click on it to see the context menu. Select the option Disconnect.
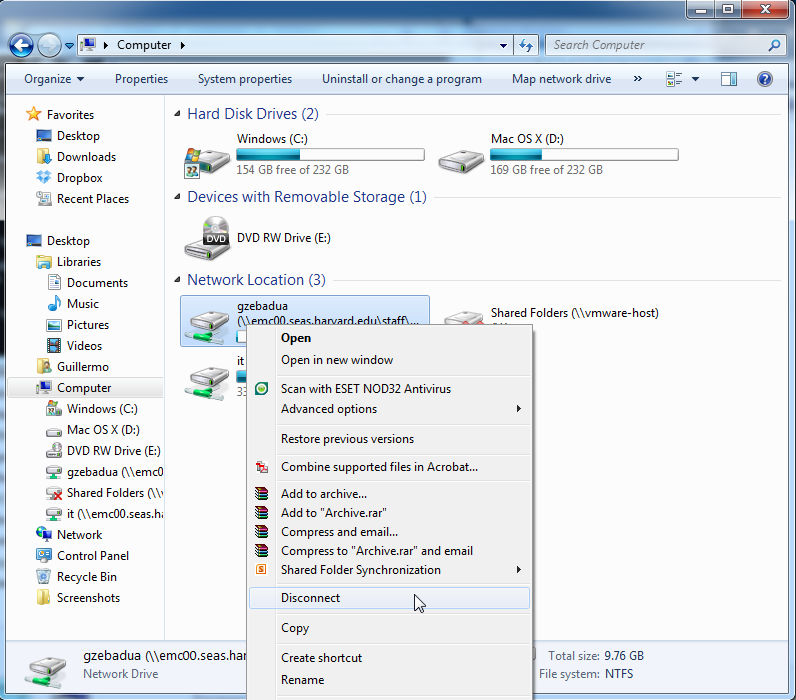
- After you select it, the drive will disappear from that window. Reboot your machine again and please follow the instructions on the top of this page to re-add the drive.
- If you can't get access to your home directory, disconnect the drive again and open the Execute window as follows:
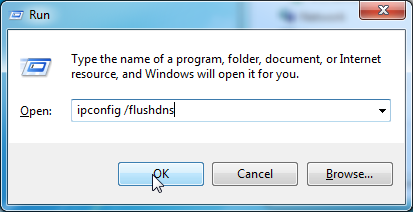
- After that, reboot again and re-add the drive following the instructions on the top of the page.